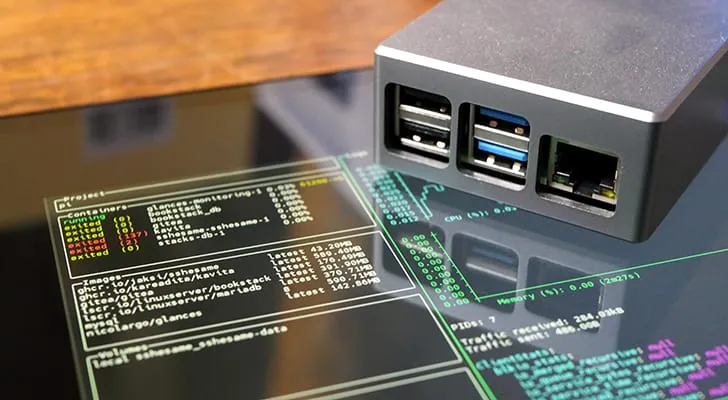
Lazydocker is a powerful terminal-based user interface (TUI) that allows developers and system administrators to manage Docker containers, images, volumes, and networks through a clean and interactive interface. Designed to simplify Docker usage, it provides an intuitive way to monitor and operate Docker resources without memorizing complex CLI commands.
Lazydocker is completely open-source and is built for cross-platform support. It runs seamlessly on macOS, Linux, and Windows environments. Whether you are a beginner exploring Docker or an experienced DevOps engineer looking for efficiency, Lazydocker is a must-have tool. The official website for Lazydocker is https://lazydocker.com, where users can access documentation, installation files, and update logs.
Prerequisites Before Installing Lazydocker
To install and use Lazydocker effectively, ensure that the following prerequisites are met:
Docker Installation
Make sure Docker is already installed and running on your system. Lazydocker depends entirely on Docker, so a functional Docker environment is essential.
Docker Compose
If you work with multi-container applications, it is recommended to have Docker Compose installed. Lazydocker supports managing Docker Compose services, making your workflow even smoother.
Terminal or Command Line Interface
Lazydocker operates entirely in the terminal. Access to a command-line interface is necessary, whether you are using Terminal (macOS), Bash/Shell (Linux), or PowerShell/WSL (Windows).
Installation Methods by Platform
Lazydocker supports various installation methods tailored to different operating systems and user preferences. Choose the one that best suits your setup.
Installing Lazydocker on macOS / Linux Using Homebrew
Homebrew is a popular package manager for macOS and Linux. If Homebrew is installed on your system, follow the steps below to install Lazydocker:
brew install lazydocker
Once the command completes, Lazydocker will be available globally. You can launch it from any terminal session.
Note: If you don’t have Homebrew installed, visit the Homebrew documentation for installation instructions before running the command.
Installing Lazydocker via Go (Cross-platform)
If you have the Go programming language installed, Lazydocker can be installed directly from its GitHub repository using the go install command:
go install github.com/jesseduffield/lazydocker@latest
After installation, ensure that your Go binary directory is in your system’s PATH. Typically, this is located at $GOPATH/bin or $HOME/go/bin. You can check or add it by modifying your shell profile file:
- export PATH=$PATH:$HOME/go/bin
- Once added, save and source the file:
- source ~/.bashrc # or ~/.zshrc depending on your shell
Installing Lazydocker on Windows Using WSL or Native Binaries
Windows users can install Lazydocker using Windows Subsystem for Linux (WSL), which provides a Linux-compatible layer for Docker and CLI tools:
- Ensure WSL2 is enabled and set as default.
- Install Docker Desktop with WSL integration.
- Open your WSL terminal (Ubuntu or another distro).
- Use Homebrew or Go installation as explained above.
Alternatively, Windows users can download a precompiled binary from the official website and place it in a directory included in their system PATH.
Downloading Precompiled Binaries Manually
Another straightforward method is downloading the Lazydocker binary directly:
- Visit https://lazydocker.com
- Navigate to the download section.
- Select the appropriate binary for your operating system.
- Extract the file.
- Move the binary to a directory in your PATH (e.g., /usr/local/bin on Unix or C:\Tools on Windows).
- After moving the file, you can launch Lazydocker from the terminal by typing lazydocker.
Verifying Lazydocker Installation
Once installed, verifying the installation is simple. Open your terminal and run the following command:
lazydocker
If everything is set up correctly, Lazydocker will open with its user interface, displaying your Docker environment, running containers, available images, networks, and volumes.
Updating Lazydocker to the Latest Version
To keep up with the latest features, bug fixes, and improvements, regularly update Lazydocker using your installation method:
Using Homebrew
- brew upgrade lazydocker
- Using Go
- go install github.com/jesseduffield/lazydocker@latest
Manual Update
Download the latest version manually from https://lazydocker.com and replace your current binary with the new one.
Troubleshooting Common Lazydocker Issues
Docker Not Running
Ensure that Docker is running before launching Lazydocker. You can check Docker’s status by running:
docker info
Lazydocker Command Not Found
This usually means the binary is not in your system PATH. Double-check your installation location and update the PATH if necessary.
Permission Errors
If you encounter permission issues when launching Lazydocker, try running it with elevated privileges:
sudo lazydocker
Display Issues in Terminal
Make sure your terminal supports TUI applications. If you are using older terminals or SSH sessions, consider switching to a modern terminal emulator.
Help Command
- Use the help flag to explore all available options:
- lazydocker –help
Conclusion
Installing Lazydocker is a quick and effective way to improve Docker productivity. Whether you’re on macOS, Linux, or Windows, multiple installation options make it accessible to everyone. Lazydocker not only simplifies container management but also enhances your ability to debug and monitor applications visually from the terminal.
- For more details, updates, or documentation, always refer to the official site: https://lazydocker.com
- Start using Lazydocker today to transform your Docker workflow into a faster, more efficient experience.

